- Published on
Building my own Kubernetes cluster with Raspberry Pis
Table of contents
- Why did I need my own k8s cluster?
- Does it make sense to build a k8s cluster with Raspberry Pis?
- What do I need?
- How to build a k8s cluster with Raspberry Pis?
- 1. Dynamic DNS & Port Forwarding
- 2. Dynamically provisioning persistent volumes using NFS server & provisioner
- 3. Controlling cluster outside the local network
- 4. Cert-manager
- What can I do with my own k8s cluster?
- Conclusion
Why did I need my own k8s cluster?
I had an idea for a fun project and wanted to use it to get better at using Kubernetes, which is a way to manage lots of computers working together. At first, I thought about using cloud services. Everything was fine until my Azure free credits were about to expire. I hadn't realized that maintaining a managed Kubernetes service could be quite pricey just for having fun. Azure had a free tier for the control plane, but I had to pay for the worker nodes. These nodes needed to be up 24/7 - the whole point of Kubernetes, right? I only needed something small for me and maybe a few friends.
So, I thought, why not make my own little computer cluster? This way, I thought I would be able to host my own services without worrying about the cost, and learn more about things like Kubernetes, networking, hardware, and Linux commands.
Does it make sense to build a k8s cluster with Raspberry Pis?
While looking for cheap computers, I realized that most small PCs aren't very nice to look at. I could hide my ugly code by making the repo private, but a physical server would inevitably take up space. Therefore, the server needed to be both small and appealing.
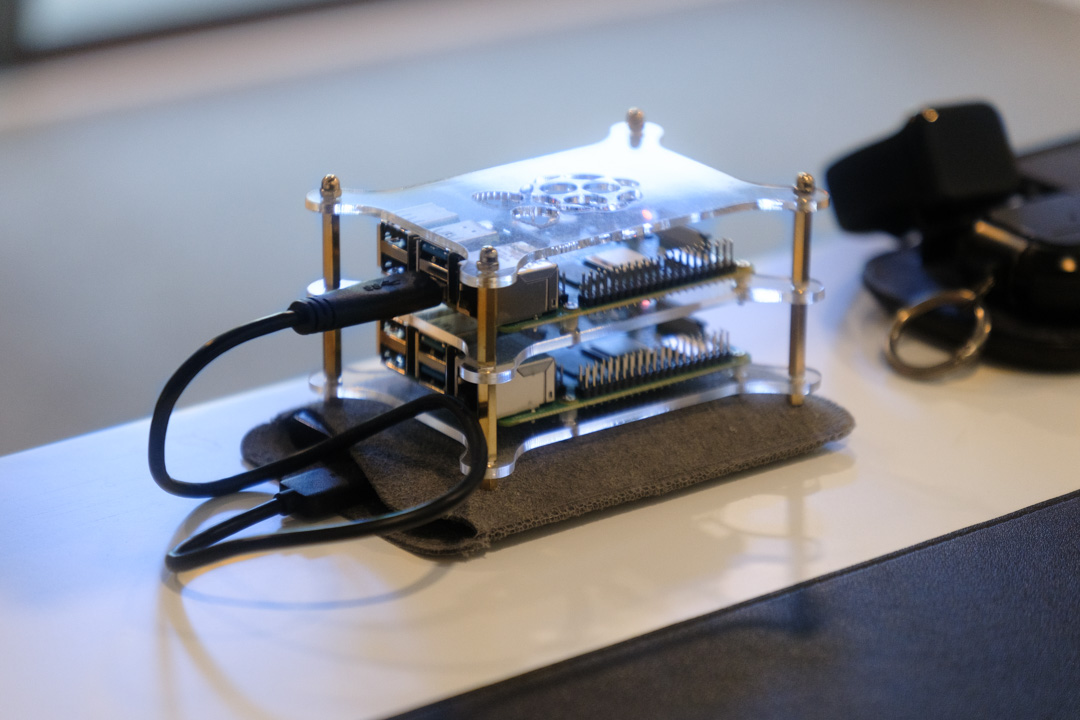
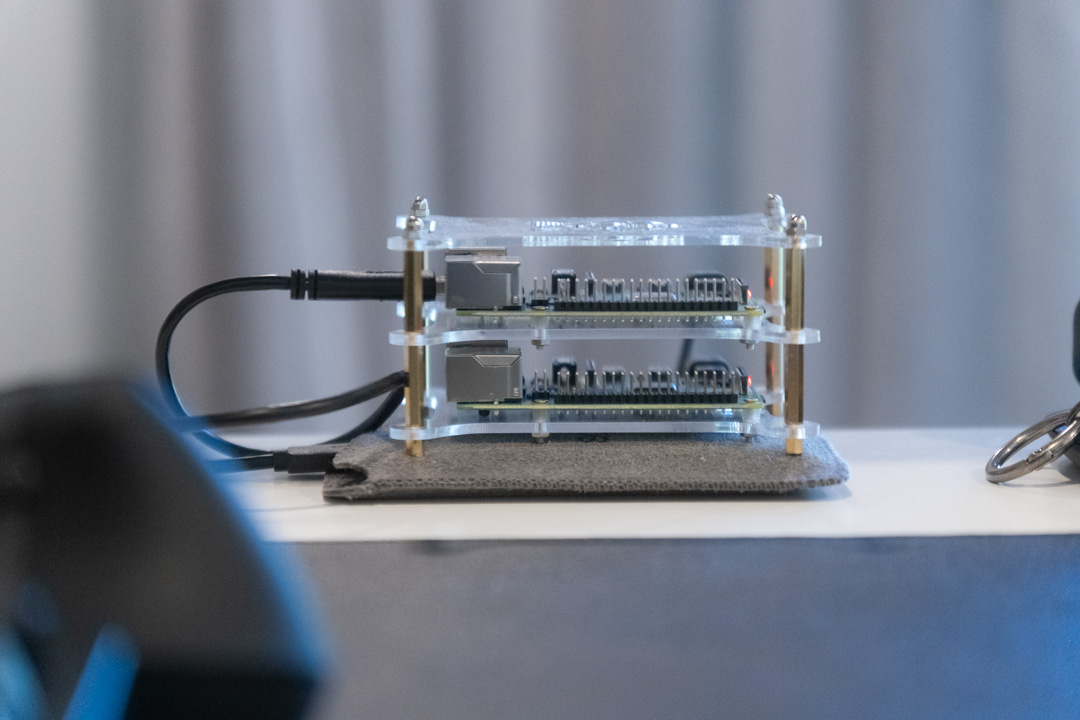
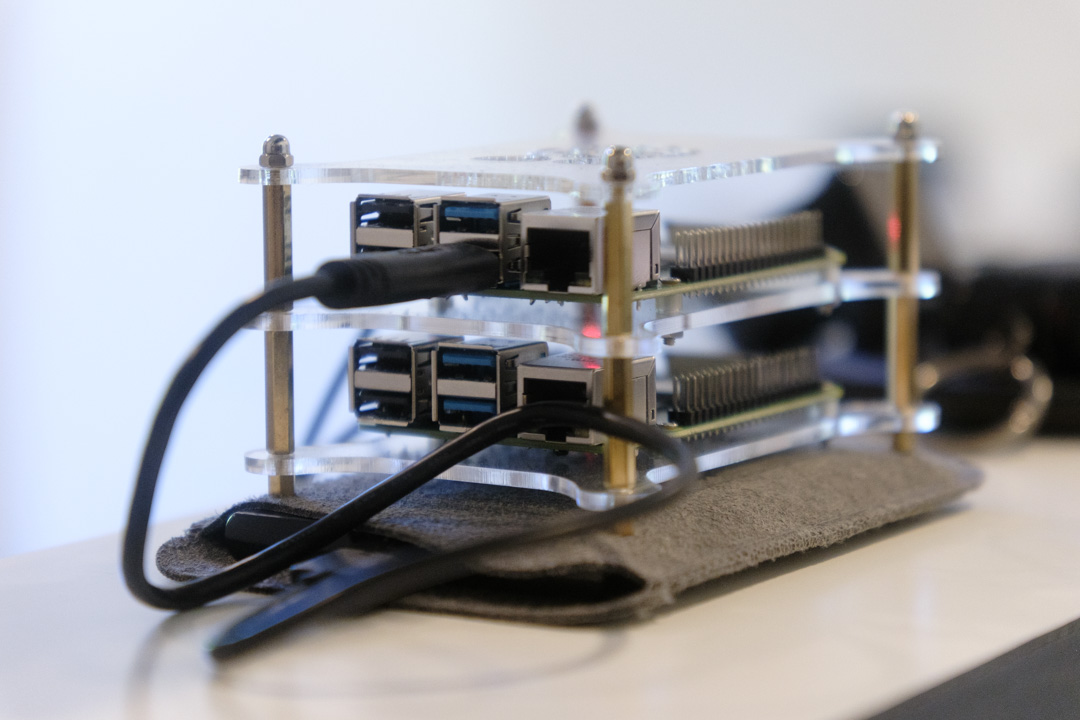
I remembered someone boasting about hosting his project on a Raspberry Pi. It seemed a brilliant idea to build a k8s cluster with Raspberry Pis. They are compact, attractive, quiet, and consume less power than traditional x86 PCs.
Was CPU power a concern? Not for me. I just needed to run a few containers. If more power was needed, I could simply add more Raspberry Pis to the cluster.
What about the ARM64 architecture? Also not a concern. My Mac runs on an M1 chip, which is ARM64, and BuildX allows the building of multi-architecture images. link
What do I need?
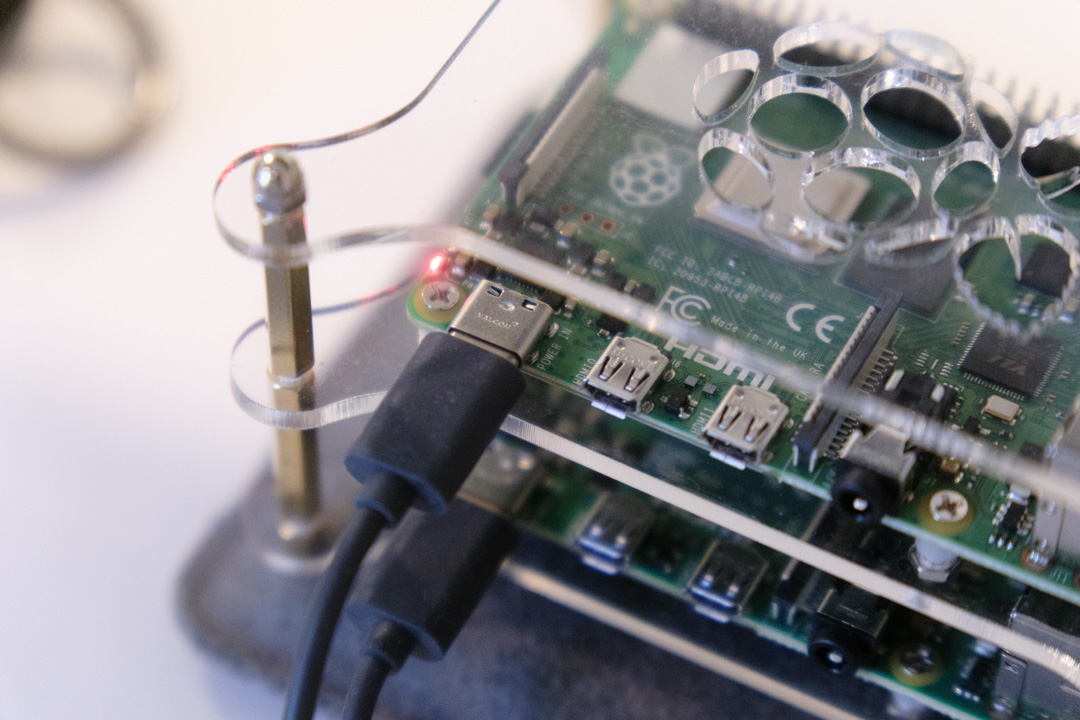
- 2 x Raspberry Pi 4 Model B 8GB
- 2 x microSD card for booting the OS
- 1 x 500GB HDD
- 1 x Cluster Case
How to build a k8s cluster with Raspberry Pis?
There are lots of helpful guides out there on how to make a Raspberry Pi cluster. Primarily, I followed this guide, which was detailed and straightforward. But if you are not familiar with Kubernetes, you might need to read the official documentation on installing Kubernetes using Kubeadm.
Beyond the guide, I added a few more things to my cluster that are opt-in but essential for self-hosting services.
1. Dynamic DNS & Port Forwarding
To access your services from the public Internet, you need either a static IP address or a dynamic DNS service. A dynamic DNS service automatically updates the DNS records when your IP address changes. I used noip for my dynamic DNS service. It is free and easy to use.
Port forwarding is a technique to forward traffics from your home router to IP addresses within your private network. For example, you can forward traffic from port 80 on your router to the IP address of your Raspberry Pi cluster.
Fortunately, my router supports both dynamic DNS and port forwarding, so all I needed to do was configure it.
2. Dynamically provisioning persistent volumes using NFS server & provisioner
A persistent volume is a storage provisioned for use with pods allowing data to persist beyond the life of a pod.
Though the guide I followed included a section on setting up persistent volumes using NFS, I decided it would be simpler to run an NFS server outside the cluster. And I also wanted to use a provisioner. Without provisioner, administrators must manually create a persistent volume (PV) and persistent volume claim (PVC) for each service.
Following this guide, I setup a NFS server, provisioner and StorageClass. This setup enables the dynamic provisioning of persistent volumes, meaning that when you deploy a service requiring a persistent volume, the provisioner automatically creates a PV and PVC for you.
3. Controlling cluster outside the local network
After setting up the cluster, the kubeconfig file references the cluster's internal IP addresses (e.g., 192.168.x.x), allowing control only within the same network.
But what if you need to deploy a new service via CI/CD or monitor the cluster remotely?
3-1. Adding a new hostname to the Kubernetes API server
In such cases, you must add a new name (e.g., a hostname or IP address) to the Kubernetes API server certificate as a Subject Alternative Name. The method varies based on your Kubernetes installation. Since we used kubeadm, you can follow one of these two guides: #1, #2.
Now, you can connect to the cluster using this new name.
3-2. Issuing a certificate for a user with limited access to the cluster
You might also want to issue a certificate for a user with limited cluster access. In this scenario, you can refer to this page to learn how to issue a certificate for a user and create roles and role bindings for them.
4. Cert-manager
Looking for a way to secure your services with TLS certificates? Cert-manager is a Kubernetes add-on to automate the management and issuance of TLS certificates from various issuing sources. I am using Let's Encrypt as an issuer, with Cert-manager automatically renewing certificates for me. To set up Cert-manager with Nginx Ingress, check out this guide.
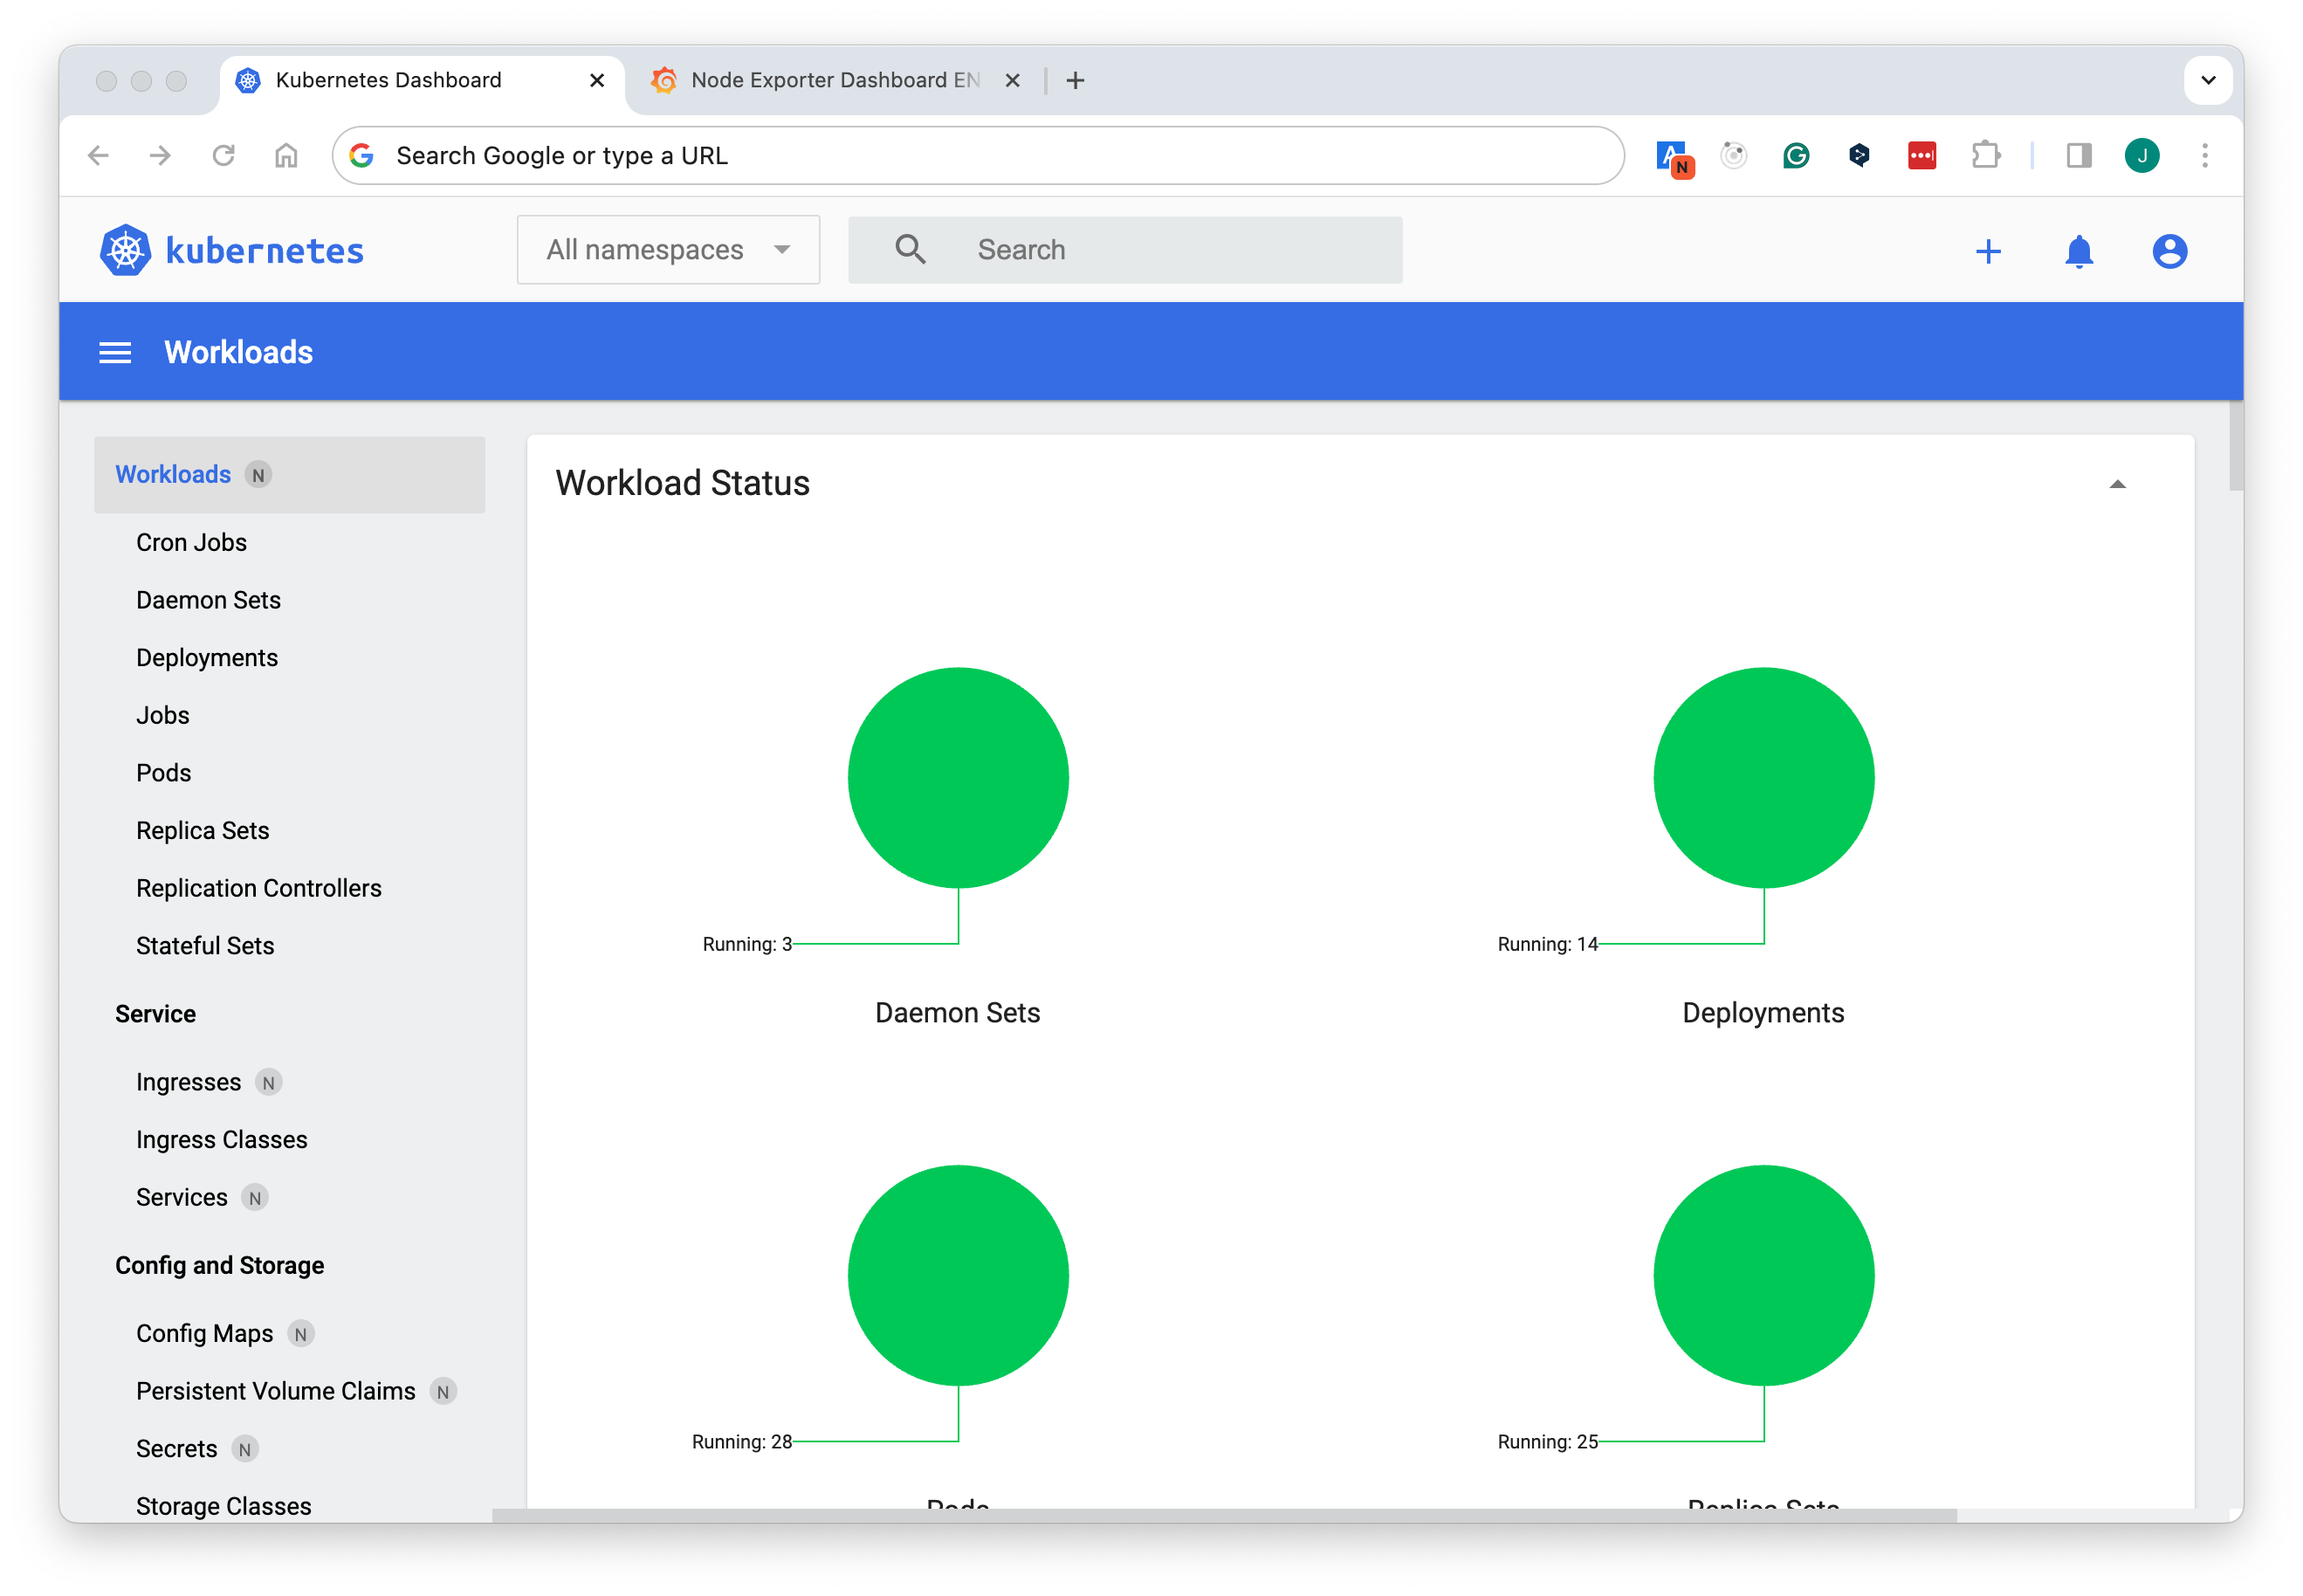
What can I do with my own k8s cluster?
Now, by hosting services on a Kubernetes cluster, I only have to worry about the electricity bill. The first thing I did was deploy a WordPress site to ensure every part of the cluster was working. It was working like a charm!
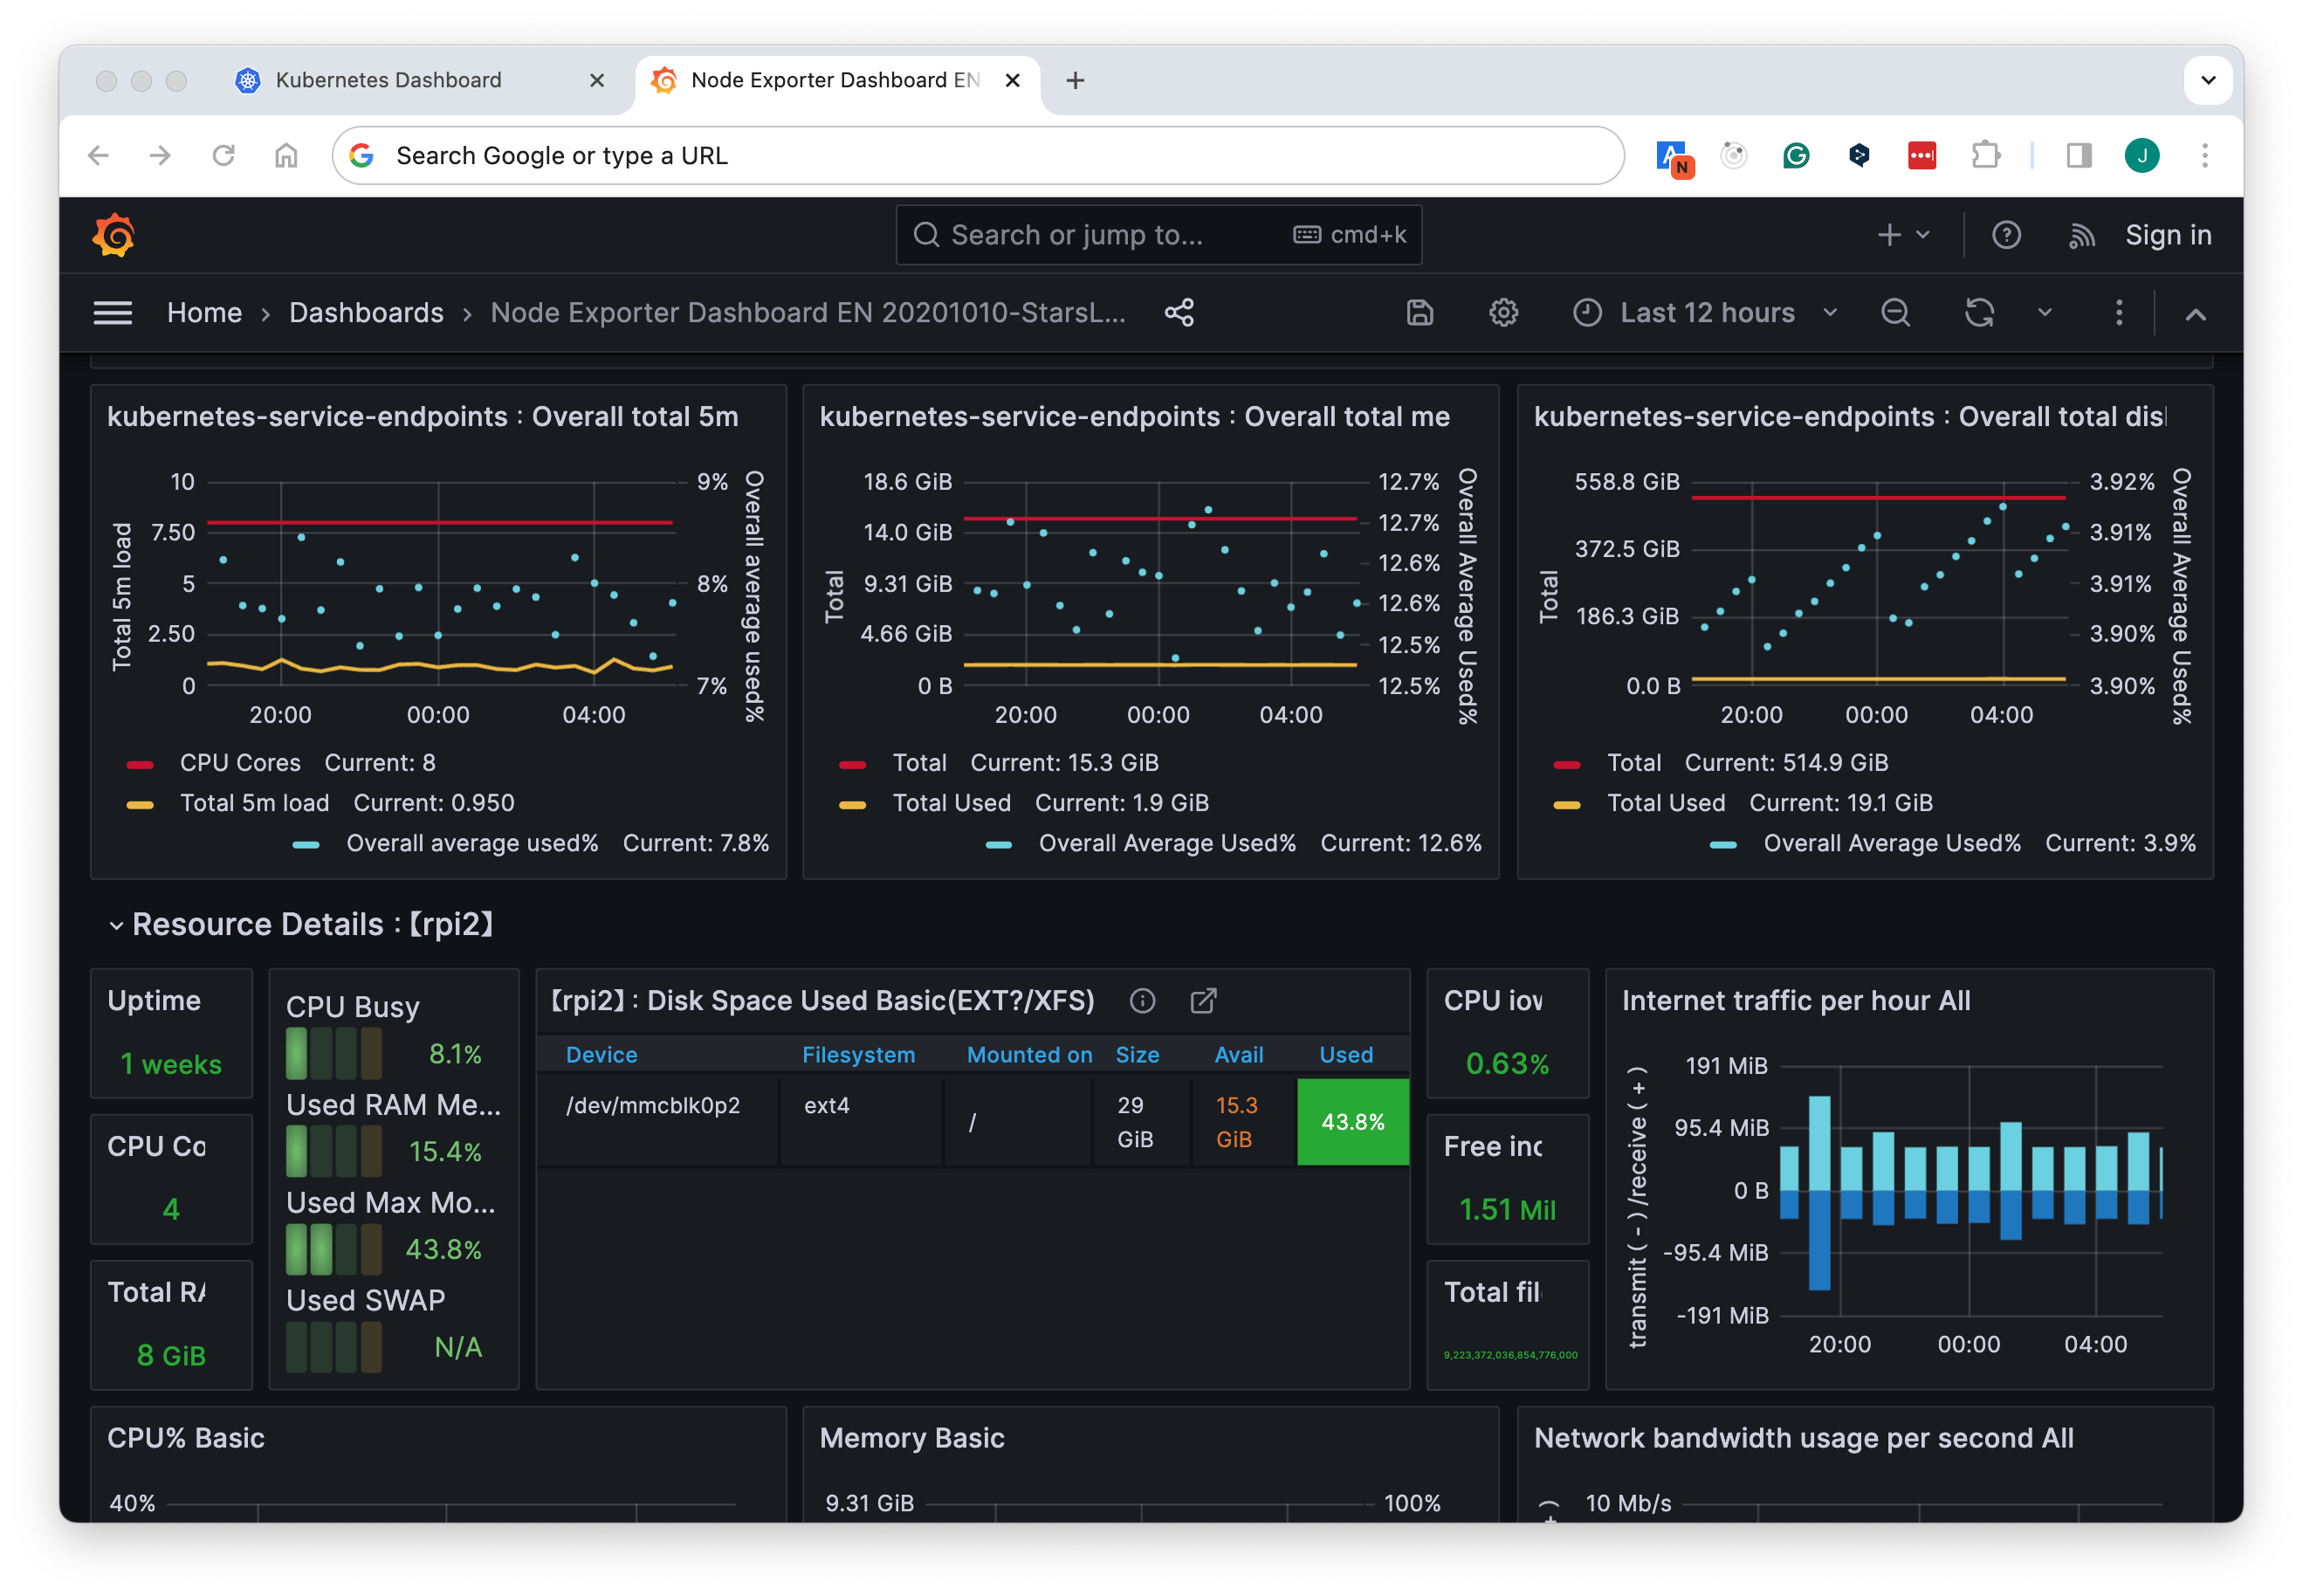
Looking at logs and complex graphs gave me a taste of being an administrator. I thought about diving even deeper into managing my cluster, but I decided hold off on that for now.
Conclusion
This projrct has been a rewarding journey. Not only did I learn about Kubernetes, but I also got hands-on experience with Linux commands and networking. This experience taught me the value of patience, especially when it comes to troubleshooting and solving problems.
I'm proud of what I've built. The blinking lights on the Raspberry Pis constantly reminds me that the code I've written isn't just floating around in the digital ether—it's running on real, physical hardware. This realization demystifies the process, making the technology feel more accessible and less like magic.
